1-SUPPLIES ….. 2-PAINT
STEP 2: PAINTING THE BOARDS
Without a doubt, one of the hidden joys in life is a well-painted cornhole set. However, painting can be a real pain if you’re pretty new at it. The key is to be meticulous and patient. If that turns you off, don’t worry, it’s not that bad once you get the hang of it. Just don’t take any shortcuts unless you’re certain of the results. This is how we painted the basic design on our cornhole tables. Your design might be quite different, but hopefully you can use some of the same techniques to get there.
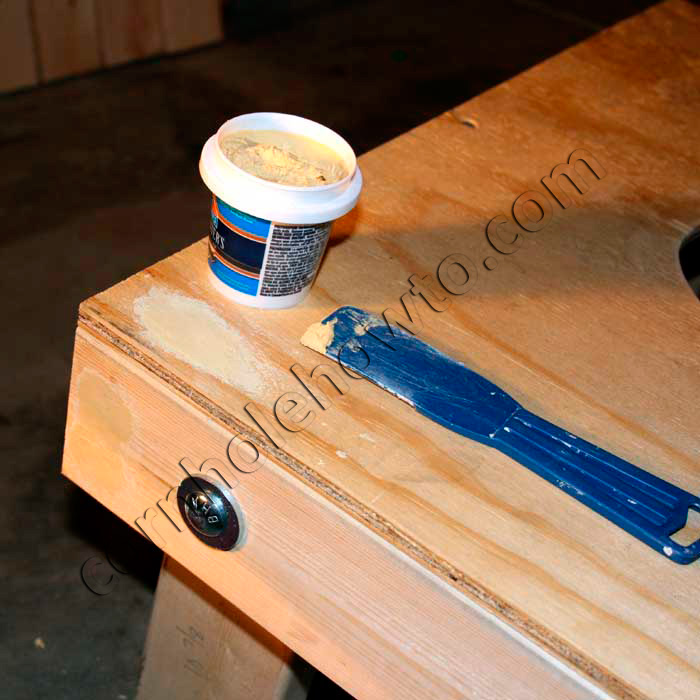 The first step is to fill all the holes and defects you created while building your cornhole boards (screw holes, knot holes, etc.). Use a putty knife or something of the sort to push wood filler into any holes, cracks, etc. on your board. You can even fill in the gap between the plywood surface and 2×4 frame. Don’t worry about over filling it because the wood filler sands down very easily after it has set up.
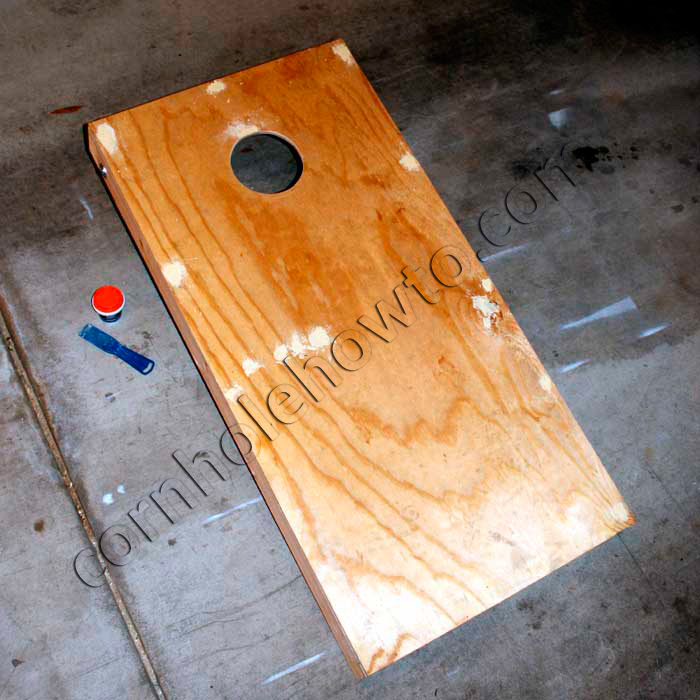 As you can see we had multiple spots on our boards that needed filling. Be sure to allow the filler to set up according to the instructions that came with your product.
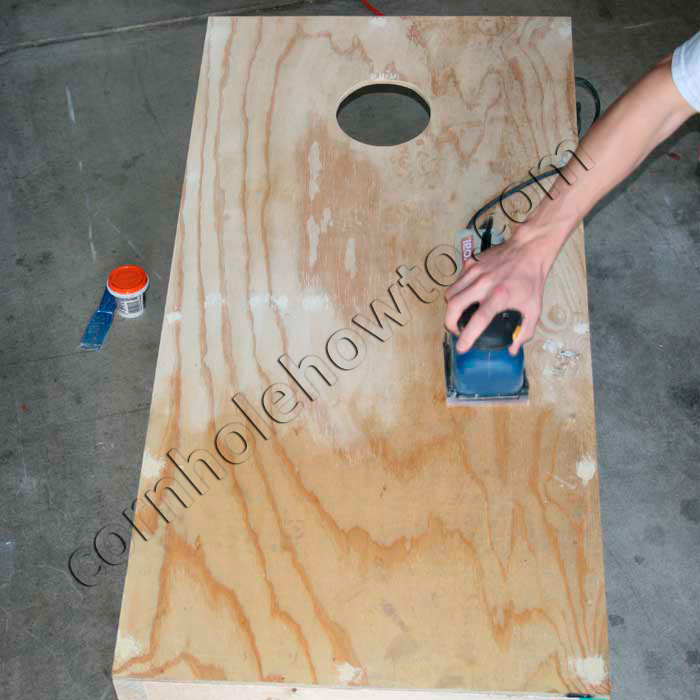 Next sand your cornhole tables smooth. An electric sander will save you a lot of time here. Medium-grit sandpaper should do the trick. If you’ve got the time sand it with varying grits of sandpaper (coarse -> medium -> fine).
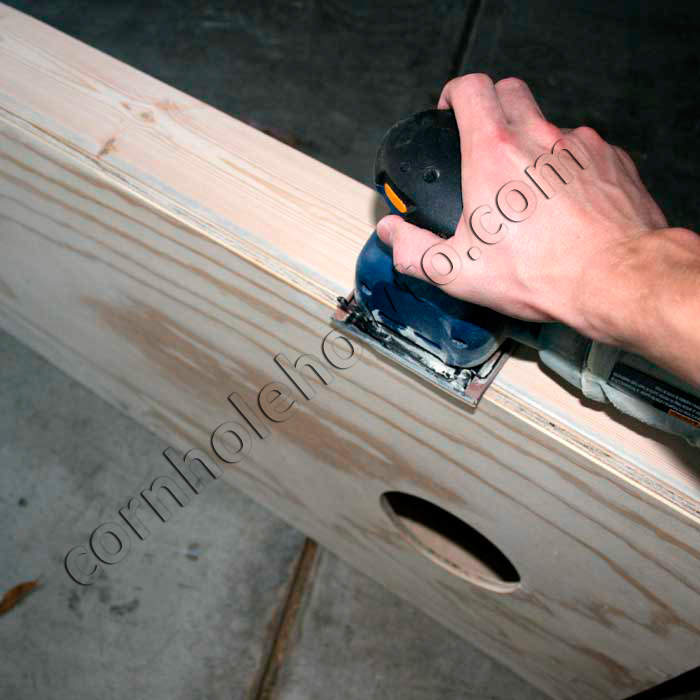 Sand down any small discrepancies you have on the sides of your table where all the different pieces of wood come together. Try not to alter the plywood surface too much.
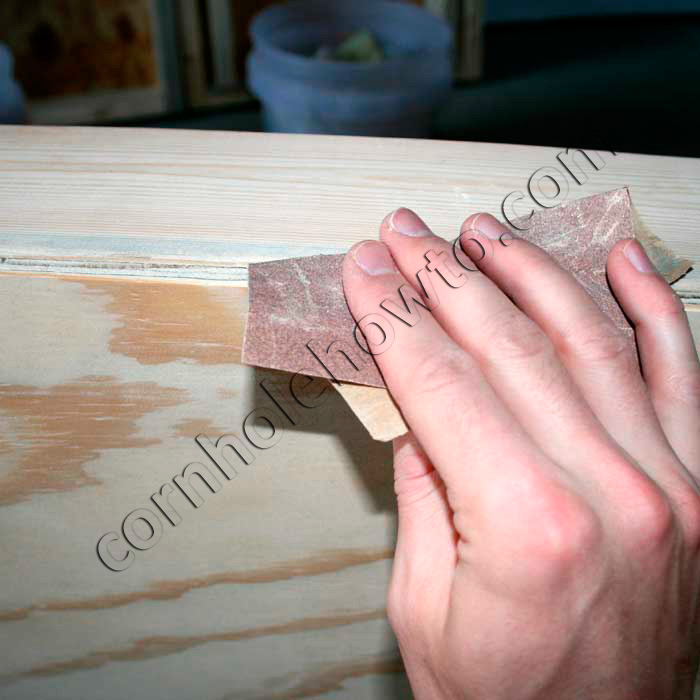 Once all your surfaces are smooth you can lightly sand down any sharp edges and corners. If you bought a router to cut your hole you can use it to round the edges. We like to gently sand the edges of the hole as well. When you try to retrieve a bag through the hole, your valuable bag-tossing hands will thank you.
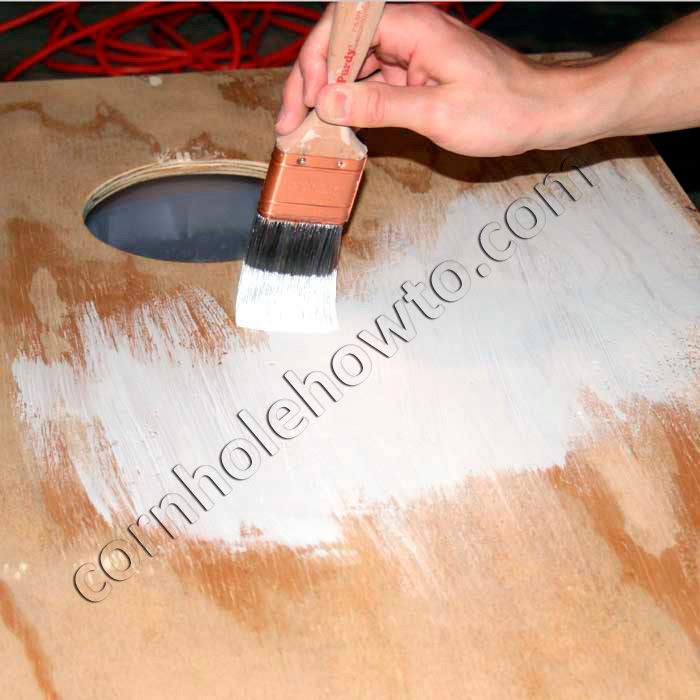 Dust off your boards, set them up off the ground, and detach your legs if you haven’t already. Apply a thin layer of primer on all visible surfaces of the board and legs with a brush or roller and let dry.
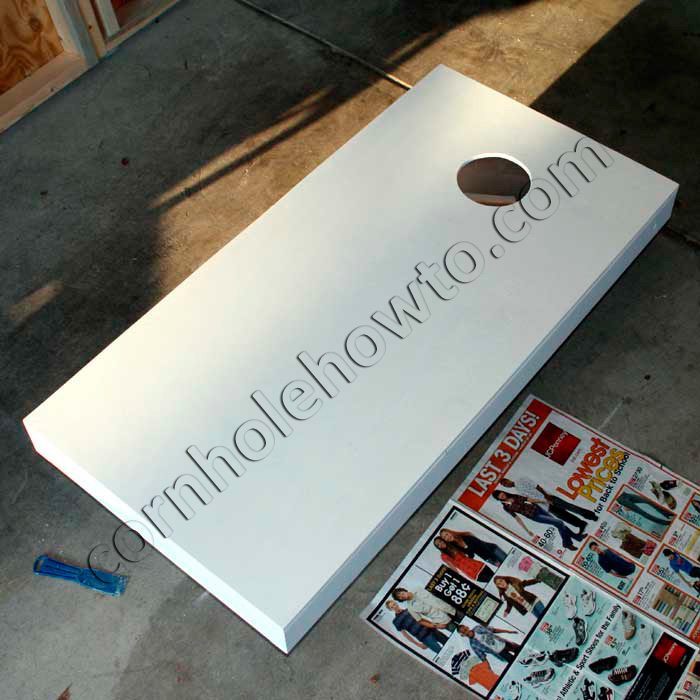 This is what it should look like when you’re all done priming.
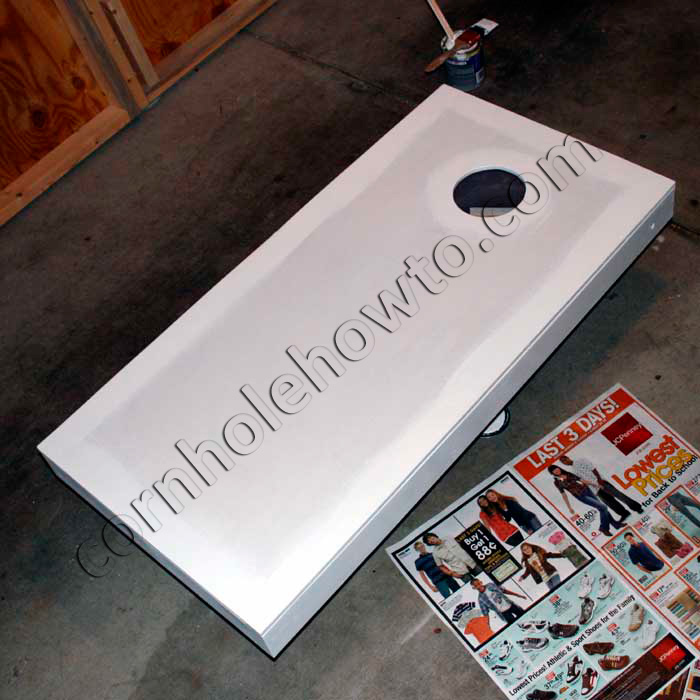 The sides of our cornhole board is white and the playing surface has a white border 1.5 inches wide. The hole also has a white border. We used a semi-gloss paint and roughed in all these areas and painted the legs too. With the white primer underneath it didn’t take more than one or two coats to get a nice uniform coverage. Let this layer dry.
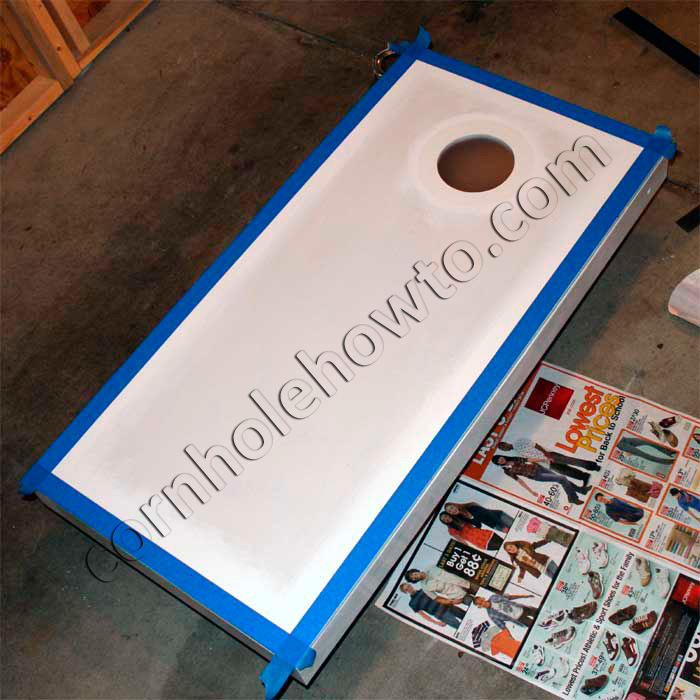 Next we taped the borders of the table with painter’s tape. If you look closely you can see that we covered the hole and the border around the hole with clear contact paper. We used our compass to draw a circle of the appropriate size (1.5 inches larger than my 6 inch hole) on the backing of the contact paper and cut it out with scissors. We then peeled off the backing and carefully placed the contact paper over the hole. Being clear, we were able to see the hole underneath and center it just right.
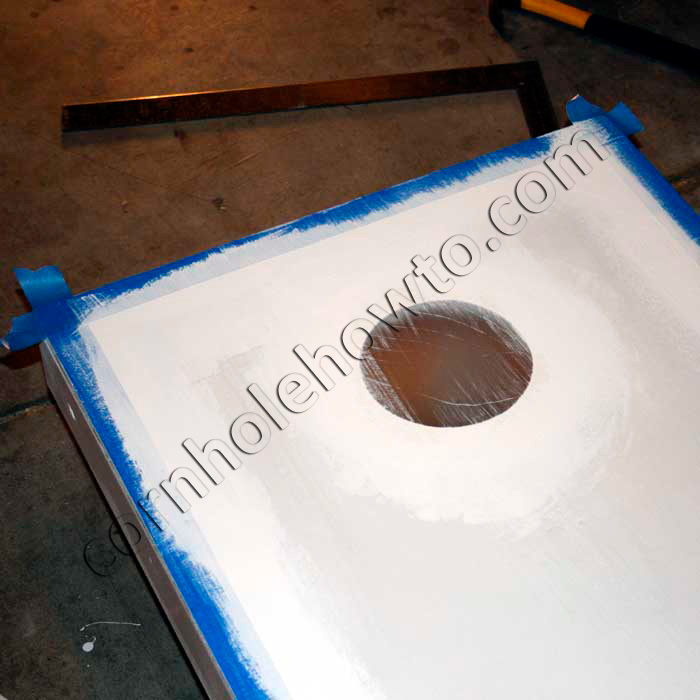 No matter how well you apply your tape, the second color (scarlet in our case) seems to always bleed underneath, ruining the crisp, clean line you’re looking for. To prevent this, we applied another layer of white semi-gloss paint on the edges of the tape and the contact paper. Now, if there is any bleeding it will be the same color as the underlying paint. Again, let this layer dry.
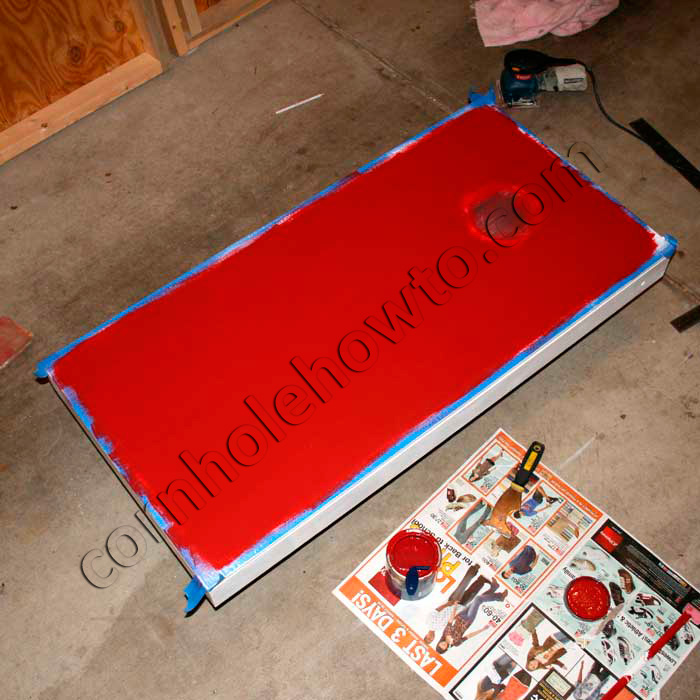 Next, take a small roller (a brush if you prefer, but a roller makes it a little easier to get a uniform layer) and paint the remainder of the board with some paint of another color and allow it to dry. This may require several coats. Don’t touch up areas here and there if you want the best results – if you need to apply more paint in one area just give the whole surface another thin layer. Painting can really be a learned skill so don’t be rushing things.
We’re often asked whether high-gloss or semi-gloss paint should be used. Many folks fear that a high-gloss paint will be more durable but create a surface that is too slippery. The way we see it, high-gloss paint is indeed very slick, but semi-gloss isn’t far off. A new set of boards is going to be a little slick no matter how you do it. Likewise, high-gloss paint is very durable, but again semi-gloss paint isn’t far off. So which to choose? If you don’t plan on using a clear finish over your boards, go with the high gloss. It will help your boards hold up to game play a little better which means you’ll have to repaint your boards less often. If you do intend to finish your boards, use the semi-gloss. It will give them a durable and shiny appearance, but any defects will be masked a little better. Either way you do it, you’re going to end up with a slippery board, so get out there and start throwing some bags. With time, the slickness will decrease.
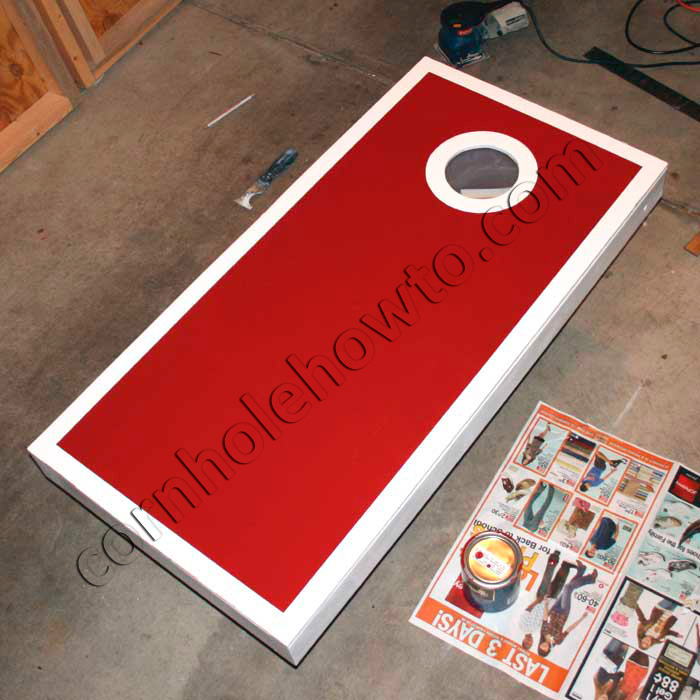
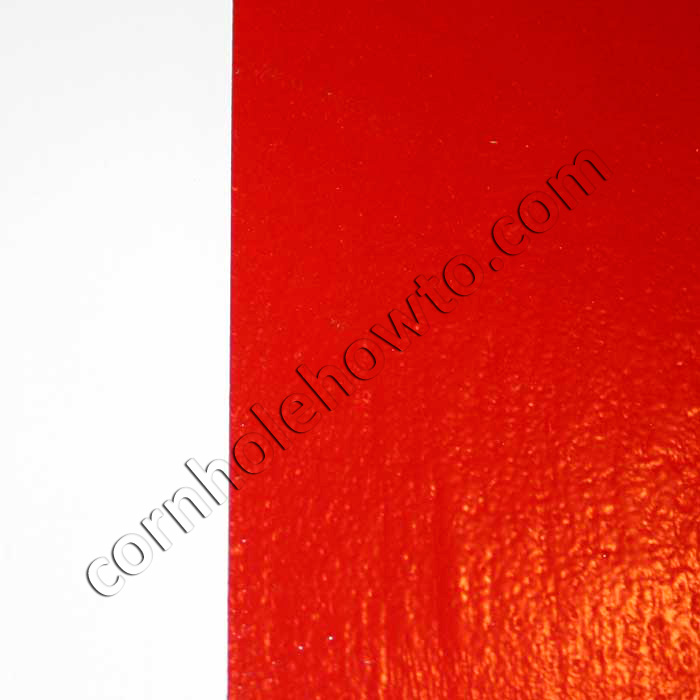 Gently peel the tape off your cornhole boards. We like to do this just after the final coat of paint has dried. If you used painter’s tape it should come off just fine without disrupting the paint underneath, but watch it carefully as you pull it away just in case. As you can see, my border is crisp and beautiful!
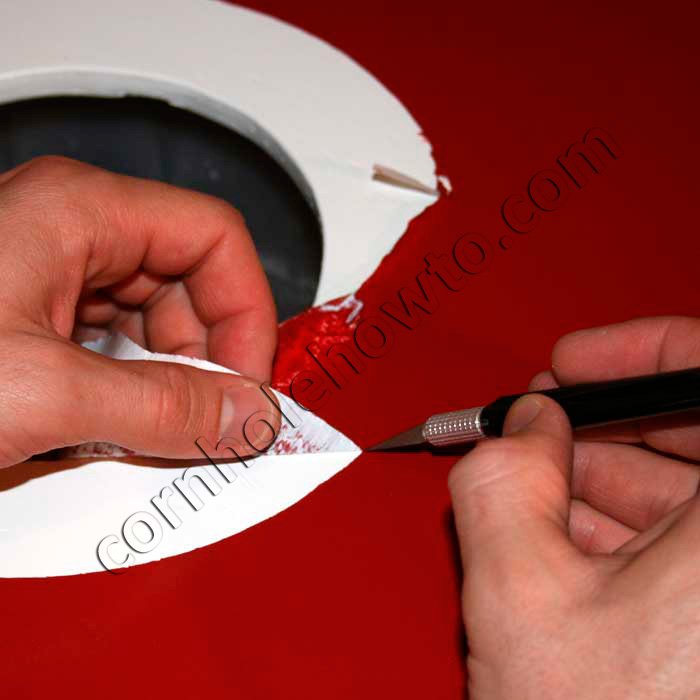 Because the contact paper has such a smooth surface it can separate from the paint as you pull it up. By lightly lifting the contact paper and following it’s edge with a sharp utility knife you can keep a clean border. By removing the contact paper at the right moment (just after the paint has dried) you can avoid this completely.
Many people prefer to add a coat of clear finish at this point.
 Now you have a gorgeous cornhole board! Using the same techniques and a little ingenuity you can add lettering, logos, etc. The possibilities are endless….
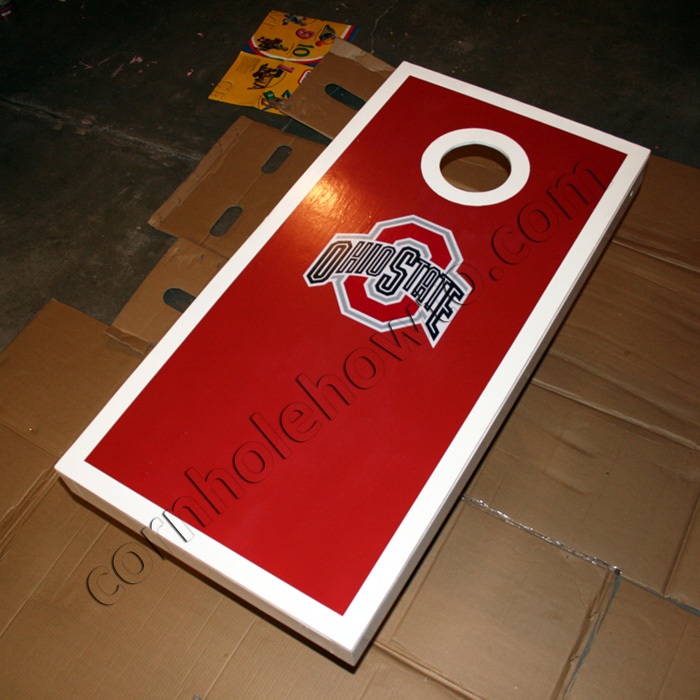 You could also add decals purchased from one of many online stores.